
Last updated September 24, 2026
Free in-home measure and quote - PGT, CGI and CWS impact lines compared on your actual openings, style by style

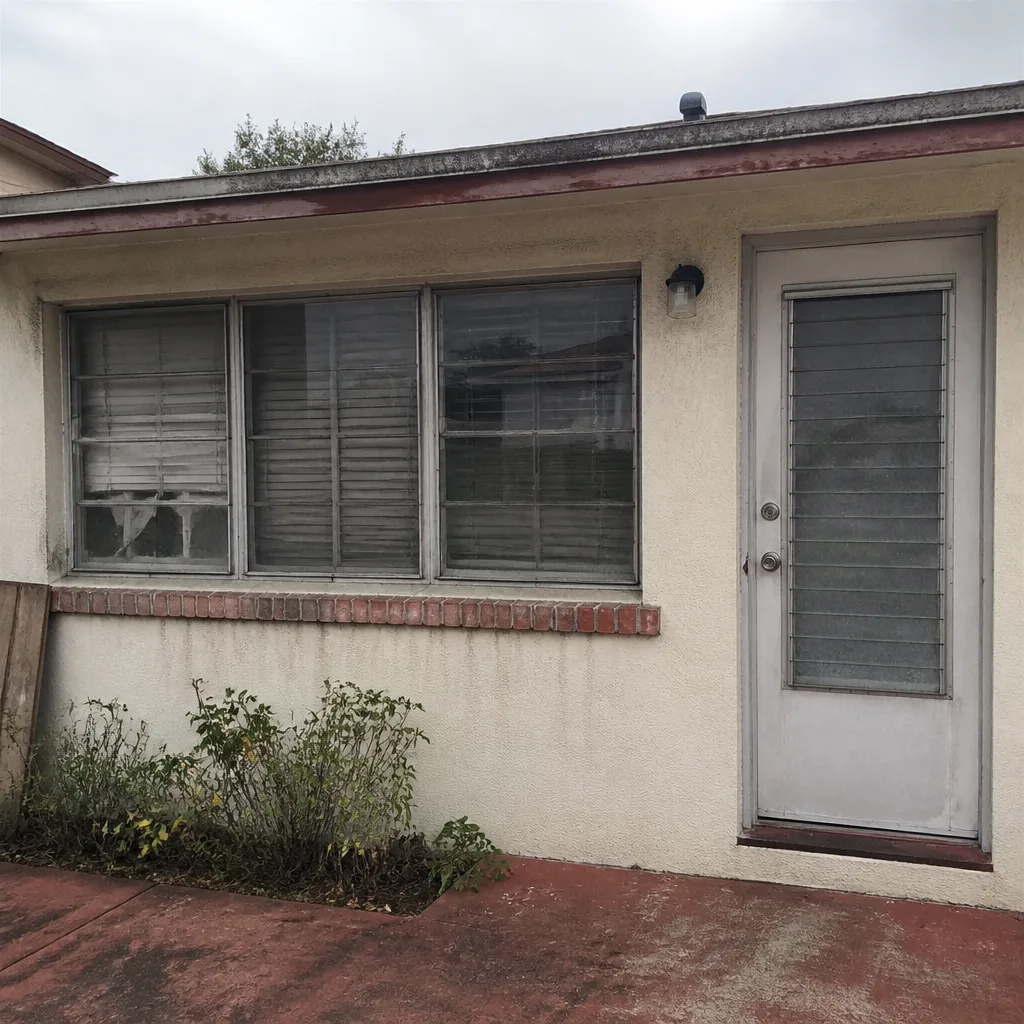 Before
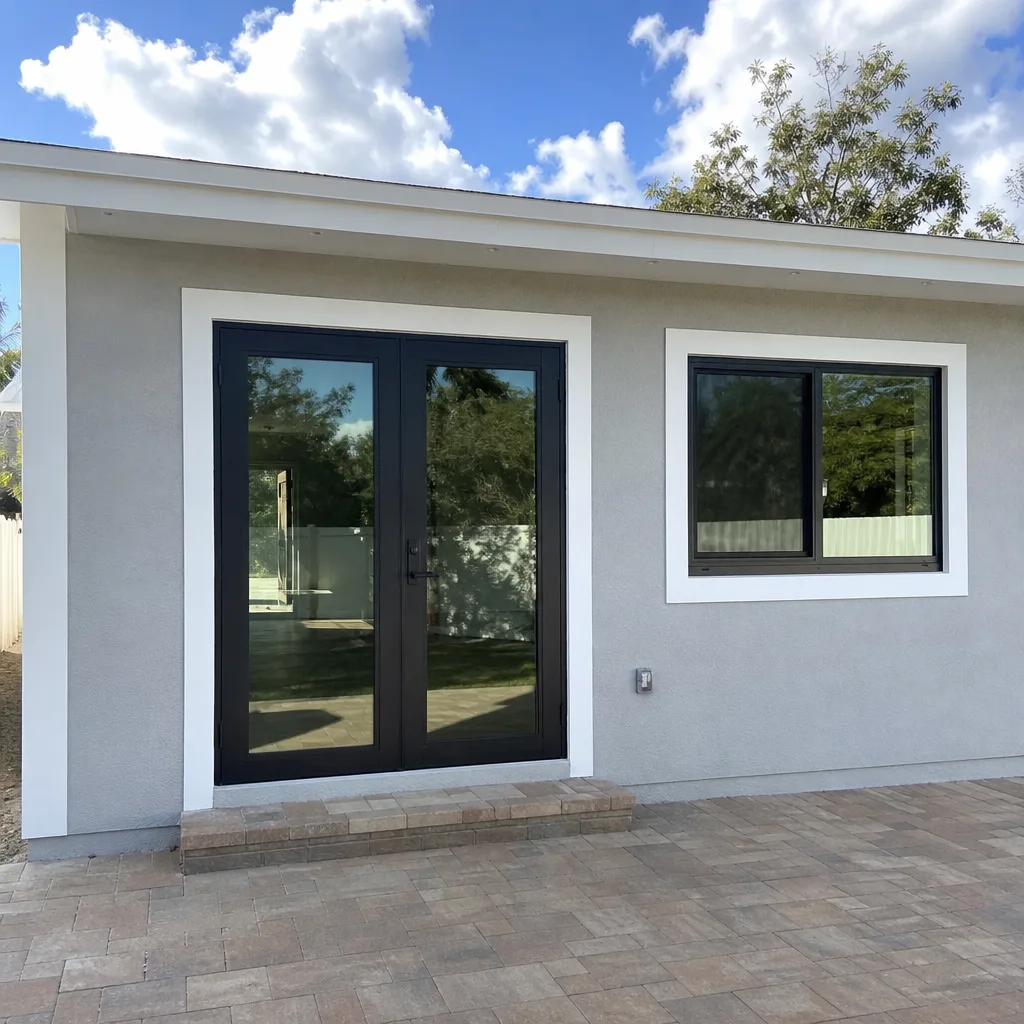 After
After Before
 After
After Before
 After
AfterWindow Installation Maintenance Checklist for Opa-locka Homeowners
A window can pass a visual inspection on day one and allow water intrusion by month six. The failure mode is almost always in the sill flashing interface, not the glass, and most homeowner checklists never mention flashing once. In Opa-locka, where summer rain arrives in concentrated bursts and humidity stays above 70 percent for half the year, that gap between a clean-looking install and a functioning opening can cost thousands in wall damage before a homeowner notices the first stain. This guide is built from the documented 22-point photo record we use on every Sightline Windows & Doors Opa-locka home installation. It explains what to check, when to check it, and what each item is actually protecting against in South Florida’s specific conditions.
Quick Answer
Opa-locka homeowners should inspect new window installations at 90 days and 12 months, focusing on sill flashing drainage, weep-hole clearance, hardware torque on impact-rated units, and air seal integrity. The 90-day check catches installation settlement before it stresses the frame; the 12-month check confirms the opening has stabilized against Opa-locka’s heat and humidity cycles. Document everything with photos, and keep the written scope from your installer alongside your product warranty.
Table of Contents
- Why Sill Flashing Failure Is the Hidden Risk in Opa-locka
- The 90-Day Post-Installation Checklist
- The 12-Month Maintenance Inspection
- Hardware Torque Checks on Impact-Rated Windows and Doors
- How to Test Air Seal Integrity Without Specialized Equipment
- What Your Documented Photo Record Should Contain
- Using Install Documentation During an Insurance Claim
- Common Mistakes to Avoid
- When to Call a Professional
- Frequently Asked Questions
 Before
 After
AfterWhy Sill Flashing Failure Is the Hidden Risk in Opa-locka
Most homeowner maintenance guides and more guides & resources start with glass cleaning and caulking inspection. Those matter, but they are not where openings fail in South Florida. The failure we document most often in Opa-locka homes, particularly in neighborhoods like Magnolia North and the historic district near Amir Circle, begins at the sill flashing.
Flashing is the water-managed interface between your window frame and the rough opening in the wall. In a proper install, the sill pan slopes outward, the end dams are sealed, and the weep holes in the frame allow any water that does enter to drain back outside. When any of these three elements are compromised, water enters the wall cavity instead of exiting it. In Opa-locka’s climate, that moisture does not dry out. It accumulates.
The specific risk factors here are:
- Concentrated rain events: South Florida receives 60+ inches annually, often in brief, intense bursts that overwhelm marginal flashing details
- Flat roof and low-slope architecture common in Opa-locka: Water tends to sheet-flow rather than run off quickly, increasing exposure time at the sill
- High humidity preventing natural drying: Even minor intrusion can sustain mold growth in wall cavities
- Salt air penetration: Within 5 miles of the coast, accelerated corrosion of fasteners and hardware can compromise flashing integrity over time
What “clear and draining” actually looks like: After a rain event, remove the window screen and look at the sill track from inside. You should see unobstructed weep slots, typically 3/16-inch openings spaced every 6 to 8 inches along the sill. Water should not pool in the track. If you pour a cup of water into the track, it should exit through the weep holes within 30 seconds. If it sits, the weep holes are blocked, or the sill pan is not sloped correctly. Both conditions require correction.
We document this exact test in our 22-point photo record on every Window Installation in Opa-locka. The photo shows the water test in progress, the timestamp, and the result. That documentation becomes evidence if a product warranty claim or insurance dispute arises later.
The 90-Day Post-Installation Checklist
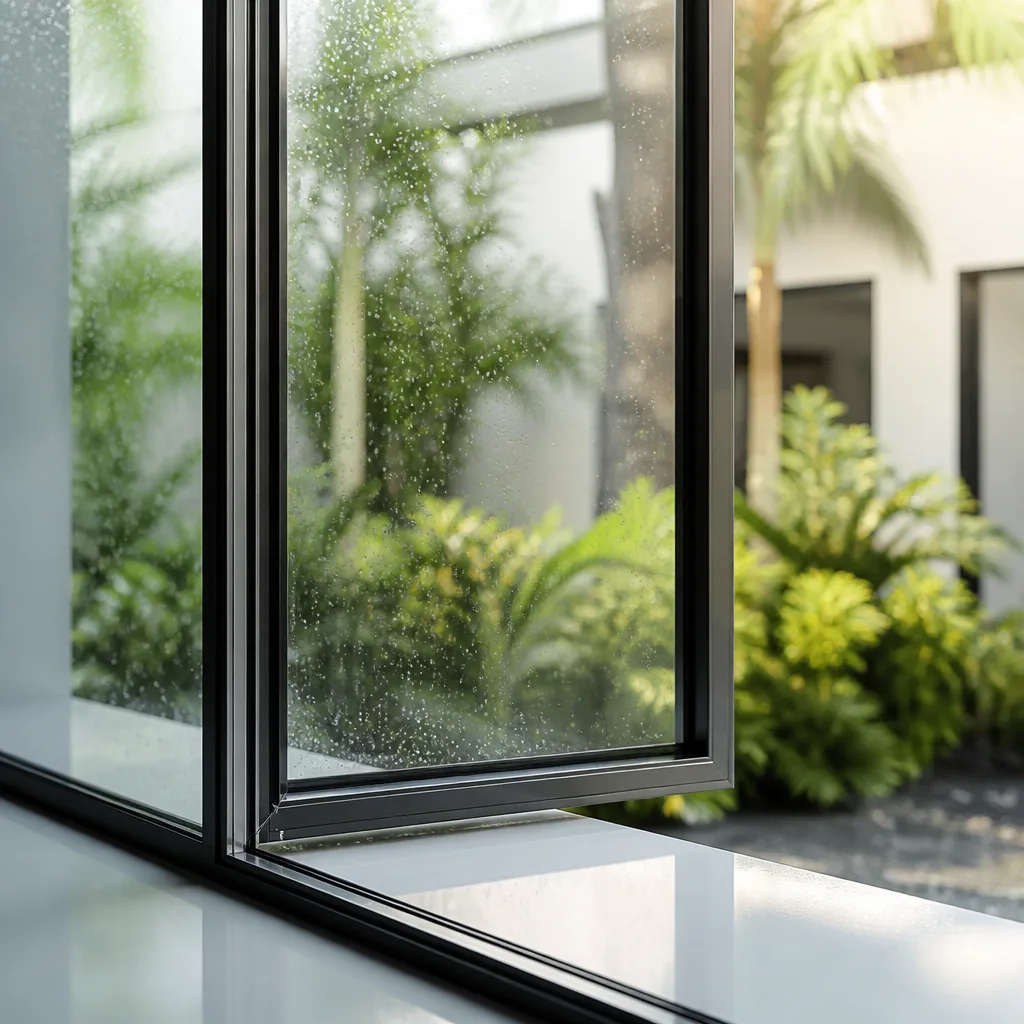
The 90-day inspection is the most important maintenance check a homeowner will perform. New openings move. Materials expand and contract through their first heat and humidity cycles. Fasteners settle. Caulking cures and sometimes shrinks. Catching these changes at 90 days, before they stress the frame or compromise the seal, is why we require this inspection in the Haven Standard.
Perform this check in Opa-locka’s late spring or early fall, when daily temperature swings are at their maximum and any installation stress will be most visible.
- Inspect sill flashing and weep holes. Remove screens. Check weep slots for stucco dust, insect debris, or paint overspray from adjacent work. Verify water drains freely when tested. In Opa-locka, we regularly find weep holes blocked by stucco particulate from nearby exterior finishing work on homes in the Sherbondy Village area.
- Check interior caulking at all four sides. Look for gaps, shrinkage, or separation from either the frame or the wall. The bead should be continuous and uniform. Note any locations where the caulking has pulled away from the frame; this indicates movement that may need structural assessment.
- Check exterior sealant at the head, jambs, and sill. The sealant should be in full contact with both the window frame and the surrounding cladding. No voids. No bubbles. In high-exposure orientations, particularly west-facing openings in Opa-locka that take afternoon sun and rain, the sealant is the primary water barrier.
- Operate every sash and lock mechanism 10 complete cycles. Smooth operation without binding indicates proper frame alignment. Resistance or noise suggests the opening has settled unevenly or hardware was not torqued correctly at install.
- Verify lock engagement on all multi-point systems. Impact-rated units from PGT and CGI use multi-point locking. Each latch should engage with a distinct click. If any point does not engage, the compression seal is not fully activated, and the unit will not perform to its impact rating.
- Inspect the glazing stop and gasket for uniform compression. The gasket should be evenly indented around the full perimeter of the glass. Variations indicate uneven frame pressure that can lead to seal failure.
- Document with dated photos of all eight items above. Store with your written scope and product warranty.
If any item fails, contact your installer before the product warranty period expires. Most manufacturer warranties require notification of installation-related issues within one year. The 90-day check gives you margin to document and report.
The 12-Month Maintenance Inspection
The 12-month check confirms the opening has stabilized. By this point, the frame has moved through a full seasonal cycle in Opa-locka’s climate. The materials have reached their equilibrium moisture content. What you find at 12 months predicts long-term performance.
Perform all seven items from the 90-day checklist, plus these additional checks:
- Inspect the painted or anodized finish for chalking or fading. South Florida UV exposure is severe. Quality finishes from manufacturers like PGT and CGI should show minimal degradation at 12 months. Significant chalking indicates either a finish defect or exposure conditions beyond the product specification.
- Check operable hardware for corrosion or stiffness. In Opa-locka’s salt-air environment, even stainless hardware can show surface staining if not properly maintained. A light silicone lubricant on moving parts, wiped clean after application, prevents binding.
- Verify the insect screen frame has not bowed or pulled from its corners. Screen frames are often the first indicator of frame stress because they are the least rigid component. Bowing suggests the main frame has twisted or settled.
- Test the drainage plane from above. Simulate a wind-driven rain event by spraying water at the head of the window from a garden hose with a mist nozzle for two minutes. Check interior sills and jambs for moisture. Any intrusion indicates a failure in the head flashing or sealant that was not visible in dry inspection.
- Compare current condition to your 90-day photo record. Changes between the two inspections show progression. Stability between the two inspections confirms proper installation.
The 12-month inspection is also the deadline for most manufacturer warranty claims on installation-related defects. After this point, warranty coverage typically shifts to product-only, excluding labor for removal and reinstallation. Your documented photo record from both inspections supports any claim you need to file.
Hardware Torque Checks on Impact-Rated Windows and Doors
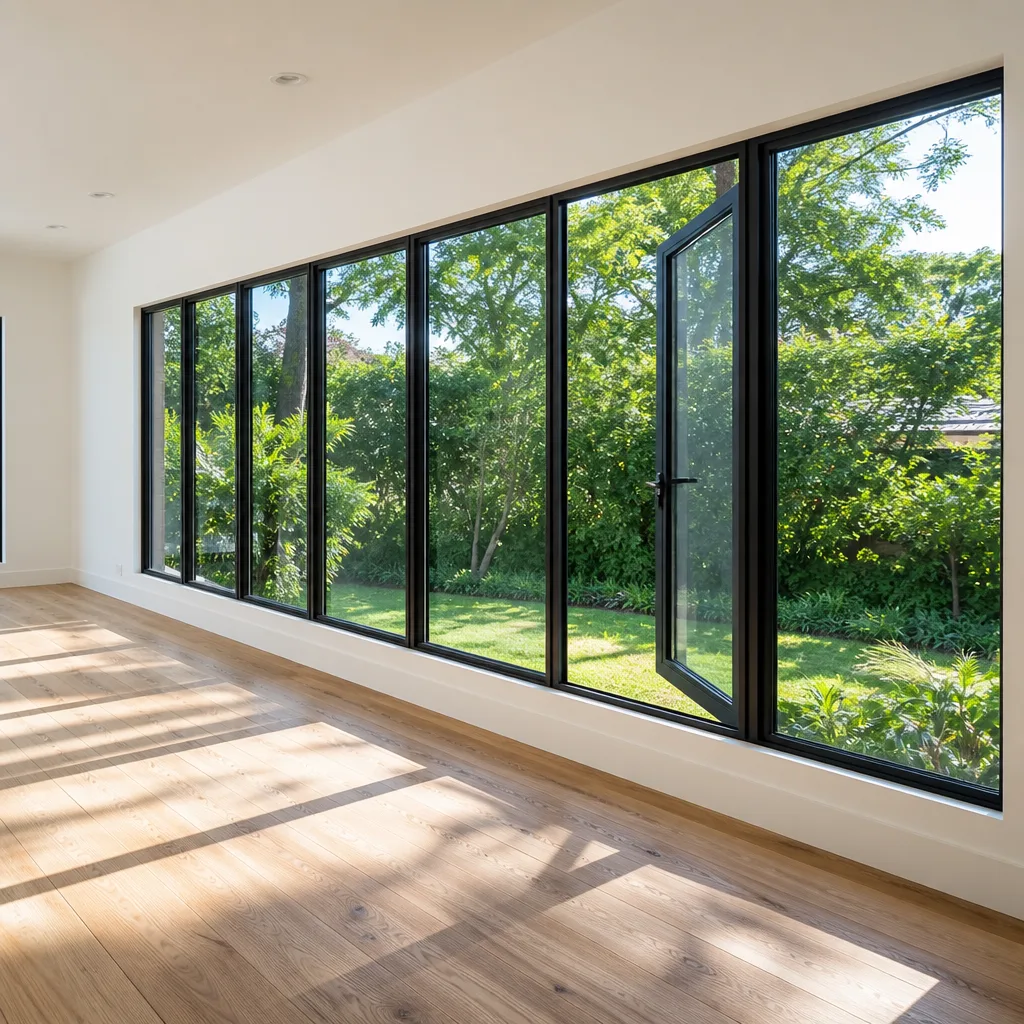
Impact-rated windows and doors in Opa-locka are not optional for most homeowners. The Florida Building Code requires them in wind-borne debris regions, and Opa-locka sits within the High-Velocity Hurricane Zone. But the hardware that makes impact-rated units work, multi-point locking systems with compression seals, requires maintenance that single-point hardware does not.
The multi-point lock mechanism uses a central handle that drives locking points at the sill, head, and intermediate locations along the jamb. When engaged, these points compress a continuous gasket against the frame, creating the air and water seal that the impact rating depends upon. If the torque on any point is incorrect, the seal is incomplete.
In high-humidity environments like Opa-locka, the metal components of these mechanisms expand and contract on a daily cycle. Over a year, fasteners can loosen. The cam adjustments that control engagement depth can drift. The result is a lock that feels secure but does not fully compress the seal.
What to check:
- Close and lock the sash. Attempt to insert a dollar bill between the sash and frame at multiple points. Resistance should be uniform and firm. Easy insertion indicates inadequate compression at that location.
- Listen for the engagement sequence. A properly adjusted multi-point system produces distinct audible clicks as each point engages. Missing clicks indicate a point that is not reaching its strike plate.
- Check the handle operation force. Excessive resistance suggests over-torqued components or frame distortion. Too-easy operation suggests under-torqued components that may not hold under pressure.
- Inspect visible fasteners for corrosion or loosening. Do not tighten or adjust these yourself. The torque specification is calibrated to the specific unit and gasket compression. Incorrect adjustment voids the impact rating.
Annual professional adjustment is standard for impact-rated hardware in South Florida. We include this check in our 365-Day Done Right Promise follow-up visits. If your installer did not offer this, request it. The adjustment takes 15 minutes with proper tools and protects a product investment that typically runs $800 to $2,400 per opening for impact-rated units.
How to Test Air Seal Integrity Without Specialized Equipment
Professional air-seal testing uses a blower door and smoke pencil to measure infiltration in cubic feet per minute. Homeowners do not have this equipment. But the absence of precision instruments does not mean you cannot detect meaningful air leakage. The methods below identify leaks large enough to affect energy performance and comfort in Opa-locka’s cooling-dominated climate.
The incense stick method: On a day with at least 10 degrees temperature difference between inside and outside, close all windows and doors, run the exhaust fans in bathrooms and kitchen for 10 minutes to depressurize the house, then light a stick of incense and hold it near the perimeter of the window frame. A leak pulls the smoke stream horizontally toward the frame. Mark locations with painter’s tape. Small leaks at the sill are common and usually indicate weep-hole design rather than failure. Leaks at the head or jambs indicate sealant or flashing issues that need correction.
The hand method: On the same temperature-differential day, wet your hand and pass it slowly along the frame perimeter. Evaporative cooling makes leaks detectable by temperature change. This is less precise than smoke but requires no equipment.
The sound method: Close the window against moderate outdoor noise, traffic on Opa-locka Boulevard or aircraft from Opa-locka Executive Airport. A well-sealed impact-rated unit reduces outside noise significantly. If closing the window produces minimal change, the seal is likely incomplete.
The light method: At night, have a partner shine a flashlight from outside at the frame perimeter while you stand inside in darkened room. Visible light at the frame-to-wall interface indicates gaps in sealant or flashing. This test is particularly effective for identifying head flashing failures that are otherwise difficult to detect.
Any leak detected by these methods should be documented with photos and reported to your installer. In Opa-locka’s climate, air leakage directly increases cooling load. A single failed seal on a large opening can add $15 to $30 monthly to energy costs during summer months.
What Your Documented Photo Record Should Contain
Every Window Replacement in Opa-locka we complete leaves a documented photo record. This is not marketing photography. It is evidence, organized to support warranty claims, insurance disputes, and future real estate transactions. Homeowners should maintain equivalent documentation for any window installation, whether performed by Sightline or another contractor.
The minimum documentation set:
- Pre-installation condition of the opening: Wall condition, existing damage, surrounding finishes. Establishes baseline and protects against claims that pre-existing conditions are install-related.
- Rough opening before window placement: Framing condition, sill pan installation, flashing tape application. This is the only time these elements are visible. Once the window is set, they are permanently concealed.
- Window label and certification mark: The permanent label showing manufacturer, product line, impact rating, and certification number. Required for insurance and code compliance verification.
- Installed unit from interior and exterior: Four elevations minimum, showing alignment, sealant application, and finish integration.
- Hardware engaged, showing lock points: Documents proper function at time of install.
- Weep hole locations and water test result: Confirms drainage function.
- Final interior and exterior wide shots: Context for locating the specific opening within the home.
Storage: Keep digital copies in cloud storage with automatic backup, and maintain a printed set with your home improvement records. The photo record has a 20-plus year useful life. Window products last 20 to 30 years in South Florida. The documentation should outlast the original storage media.
Under Haven Clause 4, Evidence on Every Job, our photo records are uploaded to customer-accessible storage within 48 hours of job completion. Customers receive a link and download instructions. We also provide the measured survey document, which serves as the written scope and the basis for the fixed price.
Using Install Documentation During an Insurance Claim
Insurance claims for window damage in Opa-locka typically follow tropical storm or hurricane events. The claims process examines whether damage was caused by the storm event or by pre-existing conditions, including installation defects. Documentation determines the outcome.
The adjuster’s standard questions: Was the window properly installed? Did it meet code at time of installation? Was the damage consistent with the reported cause? Your documentation answers all three.
Code compliance: The product label photo shows the impact rating and certification. The measured survey shows the opening dimensions and product specification. Together they prove the installed product met or exceeded the Florida Building Code requirements in effect at installation.
Proper installation: The rough-opening photos show sill pan and flashing details. The final photos show sealant application and hardware function. The 90-day and 12-month inspection photos demonstrate ongoing maintenance and stable performance.
Damage consistency: Pre-event photos establish the condition immediately before the storm. Post-event photos, taken before any cleanup or temporary protection, show the specific damage pattern. Impact-rated units that fail from wind pressure show frame distortion and hardware damage. Units that fail from wind-borne debris show point-impact damage to the glazing. The pattern determines whether the claim is covered under wind coverage, debris coverage, or installation warranty.
We have supported customers through claims following Hurricane Irma and subsequent tropical events. In every case where the Haven Standard documentation package was complete, the claim was resolved without dispute. In cases where documentation was incomplete or absent, adjusters routinely attributed damage to installation defect and denied coverage.
If you are considering Door Installation in Opa-locka or window replacement, require this documentation from your installer before work begins. Specify it in the contract. The absence of a documentation commitment is a significant risk indicator.
Common Mistakes to Avoid
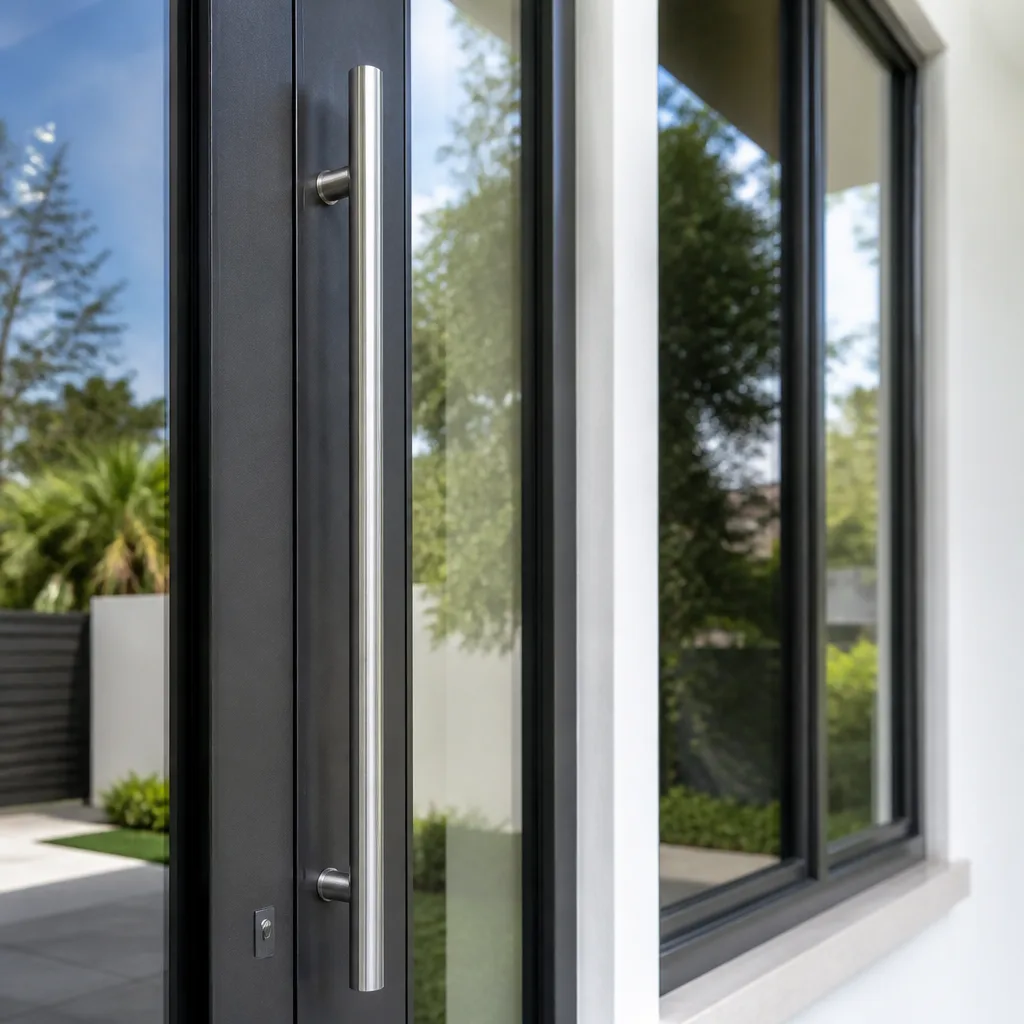
- Checking only the glass and ignoring the frame perimeter. The glass is the most visible element and the least likely to fail. Frame perimeter maintenance prevents 80 percent of the water intrusion we document in Opa-locka homes.
- Using a pressure washer on window exteriors. The concentrated stream forces water past seals designed for rainfall, not pressurized spray. It also erodes sealant over time. Use a garden hose with a gentle spray and soft brush instead.
- Applying silicone spray to all hardware without cleaning first. Silicone attracts dust and salt particulate in coastal air, accelerating corrosion rather than preventing it. Clean hardware with a dry cloth, then apply lubricant sparingly and wipe excess completely.
- Waiting for visible interior damage before inspecting. By the time drywall stains appear, water has been entering the wall cavity for months. The 90-day and 12-month inspections are preventive, not reactive.
- Assuming impact-rated units require no maintenance. The impact rating addresses wind-borne debris resistance, not waterproofing or air sealing. These separate functions require separate maintenance.
- Discarding installation paperwork after the warranty period. Product warranties extend 10 to 20 years. Insurance claims may arise decades after installation. Digital storage costs nothing; document retention protects indefinitely.
- Attempting DIY adjustment of multi-point lock hardware. The torque specification is calibrated to gasket compression and impact performance. Incorrect adjustment voids both the product warranty and the impact rating. This is professional work.
When to Call a Professional
Call a qualified window and door contractor if you find water intrusion during the hose test, if any lock point fails to engage, if the sash binds or operates with visible frame distortion, or if your 90-day and 12-month inspection photos show progressive change rather than stability. These conditions indicate installation or product issues that require professional assessment and correction.
Also call if your documentation is incomplete and you need to establish a baseline for future maintenance or insurance purposes. A professional inspection with photo documentation can be performed at any point in a window’s service life.
Sightline Windows & Doors Opa-locka offers free estimates in Opa-locka. We will review your existing installation, document current condition to Haven Standard, and provide a written scope with fixed pricing for any corrections needed. Call (786) 671-8642 to schedule.
Frequently Asked Questions
Professional inspection and adjustment of existing window installations typically runs $75 to $150 per opening in the Opa-locka market, per our Windows & Doors Cost Breakdown data, with multi-point lock adjustment and seal inspection included. If corrective work is needed, such as sealant replacement or flashing repair, expect $200 to $450 per opening depending on access and extent. Call (786) 671-8642 for an exact quote on your specific openings. Estimates are free.
No. Under Haven Clause 1, the written price before any work starts is the final price. The measured survey and the quote are the same document. We do not use change orders for conditions that should have been visible at inspection. If we miss something in our survey, we absorb the cost.
Inspect at 90 days and 12 months after installation, then annually thereafter. The annual inspection in Opa-locka should include weep-hole clearing, hardware function check, and sealant condition review. The salt-air environment and intense UV exposure make annual checks more important here than in inland climates.
Yes. Impact-rated units require annual multi-point lock torque verification and gasket compression checks that single-hung or standard sliding windows do not. The locking mechanism is integral to the impact performance. If the lock does not fully engage, the unit will not perform to its design pressure rating during a storm event.
We specify from eight manufacturer lines based on what the opening requires, not what is in stock. For Opa-locka’s HVHZ requirements and salt-air exposure, we frequently use PGT and CGI for impact-rated applications, Therma-Tru for entry door systems requiring wind-load certification, and ViewLux for large-format openings where thermal performance and structural capacity must balance. Each specification includes the U-factor and SHGC ratings appropriate to the orientation and exposure.
Homeowners can perform visual inspection, weep-hole cleaning, basic hardware lubrication, and the air-seal tests described in this guide. Multi-point lock adjustment, sealant replacement, and any flashing modification require a licensed contractor in Florida. These tasks affect code compliance and product warranty coverage. We do not recommend DIY work on these elements.
The Bottom Line
Window installation maintenance in Opa-locka is not about preserving appearance. It is about preserving the water-managed boundary between exterior and interior that the installation was designed to create. The critical elements, sill flashing, weep drainage, hardware torque, and air seal integrity, are all concealed or require specific knowledge to assess. The 90-day and 12-month inspection schedule catches installation movement before it becomes damage. Documented photo records transform a warranty from a promise into enforceable evidence. And the discipline of fixed-price, documented work, measured once and performed to that measurement, is what separates professional installation from liability.
Call (786) 671-8642 to schedule your free estimate. We will review your existing windows, document their current condition to Haven Standard, and provide a written scope with pricing that does not change once work begins.
Written by Sonia Raman, Owner at Sightline Windows & Doors Opa-locka, serving Opa-locka since 2012.